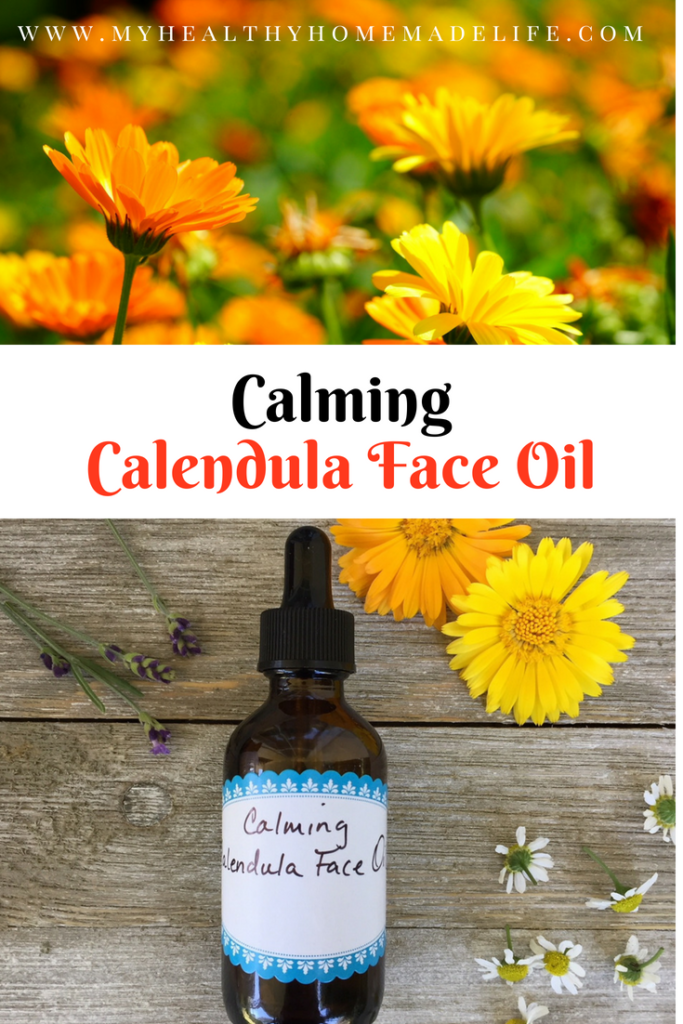
This DIY Calming Calendula Face Oil is a dreamy blend of herbs and nourishing oils and is perfect for all skin types including those with sensitive skin. It penetrates and nourishes the deepest levels of the skin so it’s also anti-aging. Made with three gentle, anti-inflammatory herbs, it soothes and calms any redness in the skin.
This page may contain affiliate links, which means if you purchase through my links I get a small commission, but it doesn’t cost you anything extra. Thank you for supporting my blog!

If you’ve been reading the blog for awhile, you know how much I love to make my own skin care products! Not only is it more economical but you also have complete control over the ingredients when you make your own products.
Most over the counter skin products contain a long list of toxic ingredients that build up in the body, making us more susceptible to illness and disease. It’s always a good idea to avoid them when you can.
I’ve had sensitive skin and roseacea for a number of years so I have to be very careful what I put on my face. Most over the counter products irritate my sensitive skin, especially products that contain artificial fragrances. Since I’ve been making and using my own skin care products (along with eating a healthy, plant-based diet,) the redness and skin irritation has greatly improved over time.
Herbs that Help Calm Skin Redness
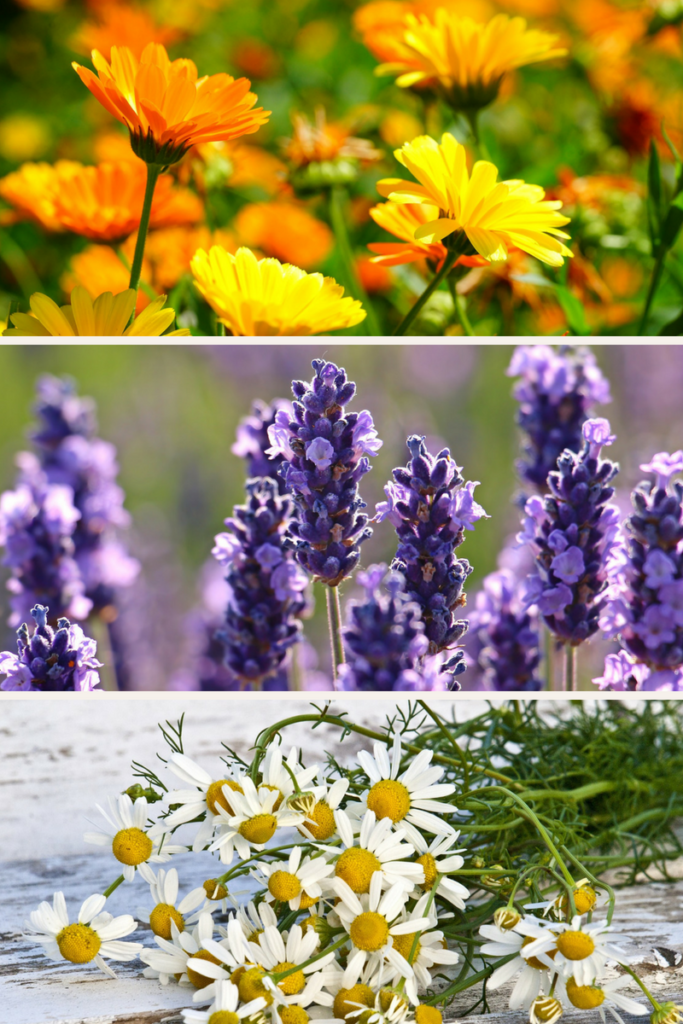
There are three herbs that I find most helpful when it comes to calming the skin and reducing redness: calendula, chamomile and lavender.
Each of these herbs are gentle and have anti-inflammatory actions that cool and calm the redness of sunburn, dry, itchy skin, eczema and roseacea.

Along with these three herbs, my favorite essential oil for skin redness is German Chamomile. I’ve been using it for years and it has helped my roseacea tremendously. Not to be confused with Roman Chamomile, German Chamomile is particularly helpful for sensitive, red, inflamed and dry skin.
Calming & Nourishing Carrier Oils
Today’s recipe also include two carrier oils which will be the base of our calming face oil: Jojoba Oil and Rosehip Seed Oil.
Jojoba Oil
I’ve talked about jojoba oil in several of my posts –it’s my absolute favorite oil for the face!
Jojoba oil is a liquid plant wax that is most like the sebum that our own skin produces. It’s full of vitamins and minerals that nourish and heal the skin.
I use Jojoba Oil in my favorite lip balm, my Anti-Aging Serum and the Rose Face & Body Cream.
Rosehip Seed Oil
Rosehip Seed Oil is a wonderfully nourishing oil, good for all skin types, especially for those with sensitive or roseacea-prone skin. It’s high in antioxidants and is able to penetrate the deep layers of the skin, making it one of the best oils for anti-aging.
Rosehip Seed Oil is probably best know for its ability to help get rid of scars (including acne scars) and for reducing the redness & appearance of stretch marks. It can even be helpful for eczema.
When purchasing Rosehip Seed Oil, look for cold pressed oil. Cold Pressed Rosehip Seed Oil, although a little more expensive, retains more of its nutrients and is well worth the extra money. It The oil has a short shelf life once opened–about 6 months so be sure to use it right away. Keeping it in the refrigerator or stored in a cool, dark place can help prevent rancidity.

Calming Calendula Face Oil Recipe
DIY Calming Calendula Face Oil for Skin Redness
A gentle, skin-calming herbal face oil that's soothing for both sensitive and normal skin. Perfect for skin that is prone to redness and inflammation.
Equipment
- 1 2 oz jar with lid
Ingredients
- 2 oz Jojoba Oil
- 1 oz Rosehip Seed Oil
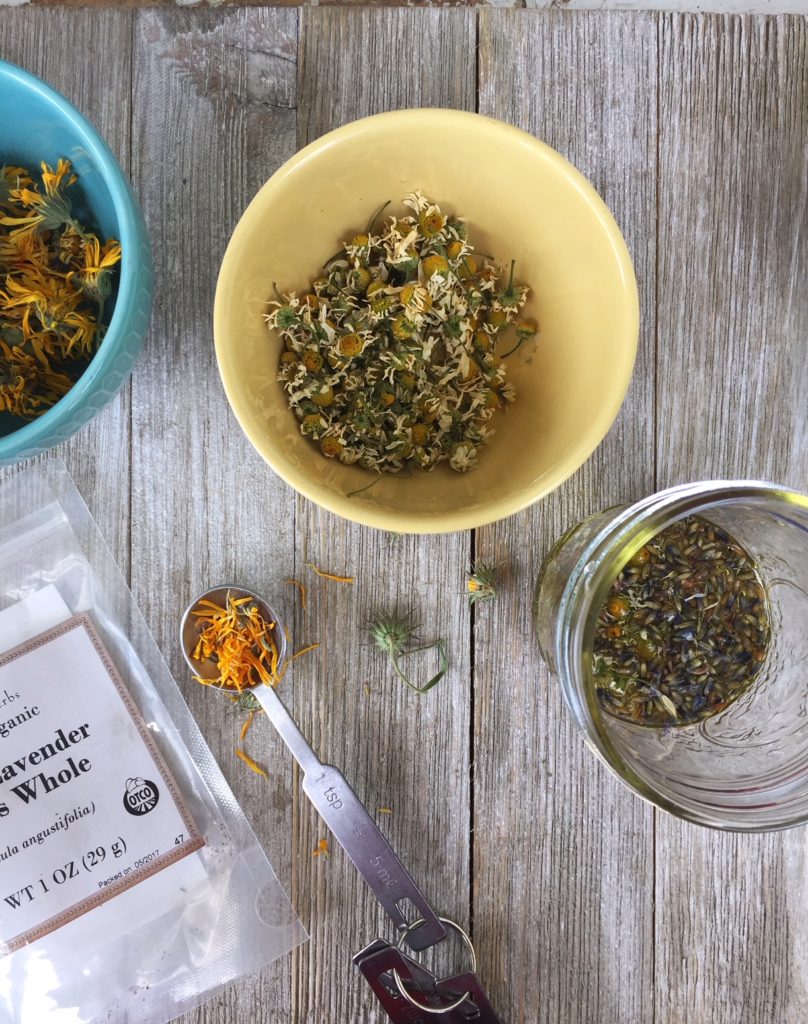
- 1 tbsp dried lavender flowers
- 2 tsp dried calendula petals pick off the petals if you have the whole flowers buds
- 1 tsp dried chamomile flowers
- 8 drops German chamomile essential oil double the amount if you're using German chamomile essential oil blend with jojoba added
- 2 drops Rose essential oil or rose geranium essential oil optional
Instructions
- Store your Rosehip Seed Oil in the refrigerator until you’re ready to use it later.
- If you’re working with fresh herbs, let them dry or wilt them overnight.
- Fill a clean, dry 2 oz jar with the dried herbs. Add the jojoba oil and shake to combine. You can expect the herbs to expand a bit over the next day or so.
- Check your jar over the first couple of days to ensure all the herbs are completely covered with the oil as they expand. Add more jojoba oil if needed.
- Allow your oil mixture to infuse for 2 weeks in a warm, sunny spot or infuse using one of the quick methods (see below.)
- Strain the herbs using a muslin cloth or thick cheeseclothto remove any flower bits. Pour the infused oil into a clean, dry 3 oz amber bottle with glass (not plastic) dropper or store in three 1 oz bottles, (keep one and share the extras!)
- Add the rosehip seed oil and essential oils to the amber bottle. Shake to combine. Label and date your finished oil.
- For longer shelf life, you can store the finished oil in the refrigerator and use as needed. The jojoba oil may firm up a bit when cold.)
Notes
Since water can introduce moisture and bacteria, make sure that your glass jar and lid are completely dry before adding the herbs and oil.
If you don’t want to wait 2 weeks for your infused oil, try one of these quick methods.
Quick Infusion (Double-Boiler Method):
In a double boiler or a heat safe measuring cup in a pan of water, simmer the oil and herbs over very low heat. Simmer gently for 30 to 60 minutes or longer, keeping the oil between 95-110 degrees. As Rosemary Gladstar likes to say, “the lower the heat and the longer the infusion, the better the oil.” Quick Infusion Method 2# (Dehydrator):
This is one of my favorite methods! If you have an Excalibur (or similar type) dehydrator with a temperature control, you can infuse your herbs in it.
Add all of your herbs and oil to a pint jar. Shake to combine.
Remove enough of the trays in your dehydrator so that your glass jar with infused herbs sits in the bottom. Set the temperature between 95-110 degrees and leave it for 2 days or longer, shaking it periodically.


22 Comments