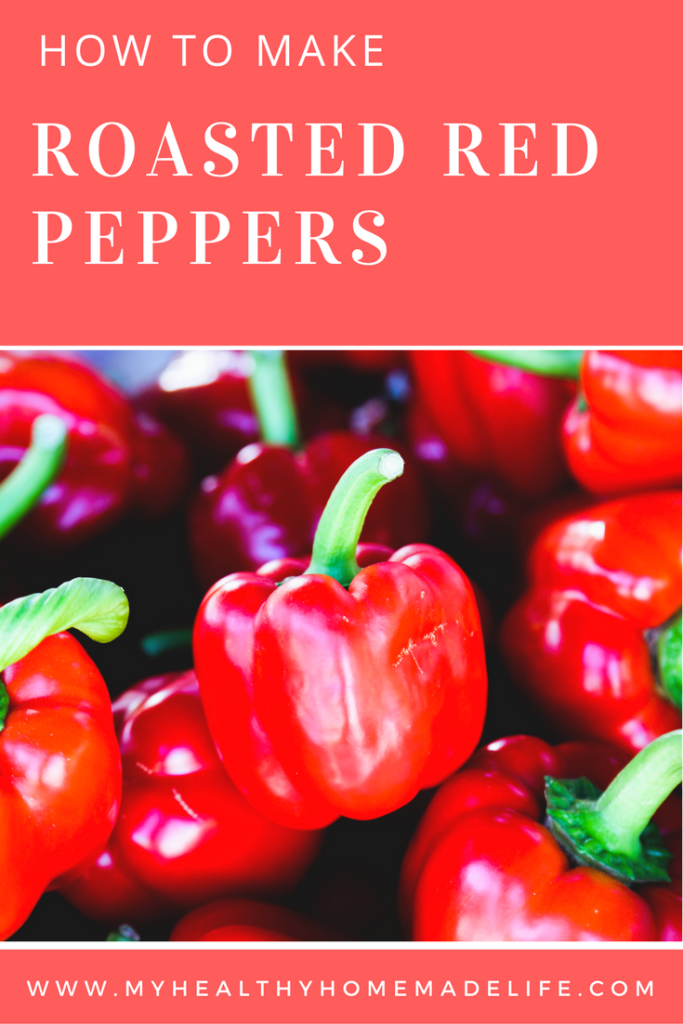
How to Make Roasted Red Peppers

How to Make Roasted Red Peppers | Freezing | Preserving | DIY | Healthy Recipes | Roasted Red Pepper Recipe | My Healthy Homemade Life

I’ll be honest, I’m not a big fan of green bell peppers.  Even as a kid, I’d cringe whenever my mom made stuffed peppers for dinner.  They were NOT my favorite!

As an adult, I avoided bell peppers like the plague.   My husband knew better than to even ask if I wanted a pizza with “all the works” because hey, it had peppers.  I couldn’t stand them.

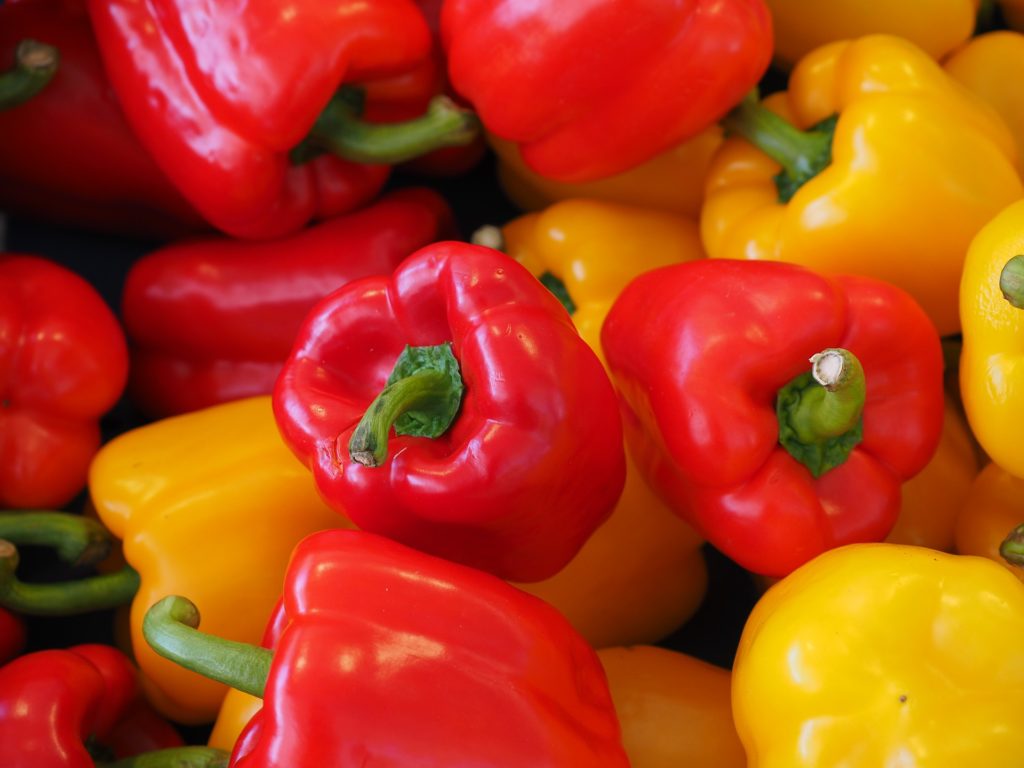
Then, one day, I discovered red peppers (and then yellow and orange!)   They were so sweet and delicious and nothing like the unripe green peppers I ate as a kid.

I loved them so much that I started growing them in my garden–lots of them! Red, yellow, orange. . .  they were all delicious and so beautiful!

There is one downside to growing red peppers.  They all seem to ripen around the same time!  Oh, how I wish I could spread that harvest out over the entire year and be able to eat fresh red peppers all through the winter!

With loads of sweet, delicious peppers coming in,  I learned to roast them and freeze them to use all winter long.

It’s amazing how a whole bushel of peppers can be reduced to actually fit in your freezer, isn’t it?

How to Make Roasted Red Peppers | Freezing | Preserving | DIY | Healthy Recipes | Roasted Red Pepper Recipe | My Healthy Homemade Life


While I do freeze some un-roasted peppers, I found that roasting red peppers brings out their natural sweetness.  I love how versatile they are and my family really loves them! We love adding them to sandwiches, casseroles, sauces,  pasta,  my Roasted Garlic & Tomato Marinara Sauce (the combination of tomato and roasted red pepper is really delicious!)  and my personal favorite, as a pizza topping.

When making roasted red peppers, you’ll find that bell peppers work the best because they are thick and meaty.  I’ve tried roasting frying peppers and peppers with a thinner skin and they just don’t hold up very well to roasting and peeling.


How to Make Roasted Red Peppers | Freezing | Preserving | DIY | Healthy Recipes | Roasted Red Pepper Recipe | My Healthy Homemade Life


How to Make Roasted Red Peppers

First, preheat your oven to 450 degrees F.  and line a baking sheet with parchment paper for easy clean-up.

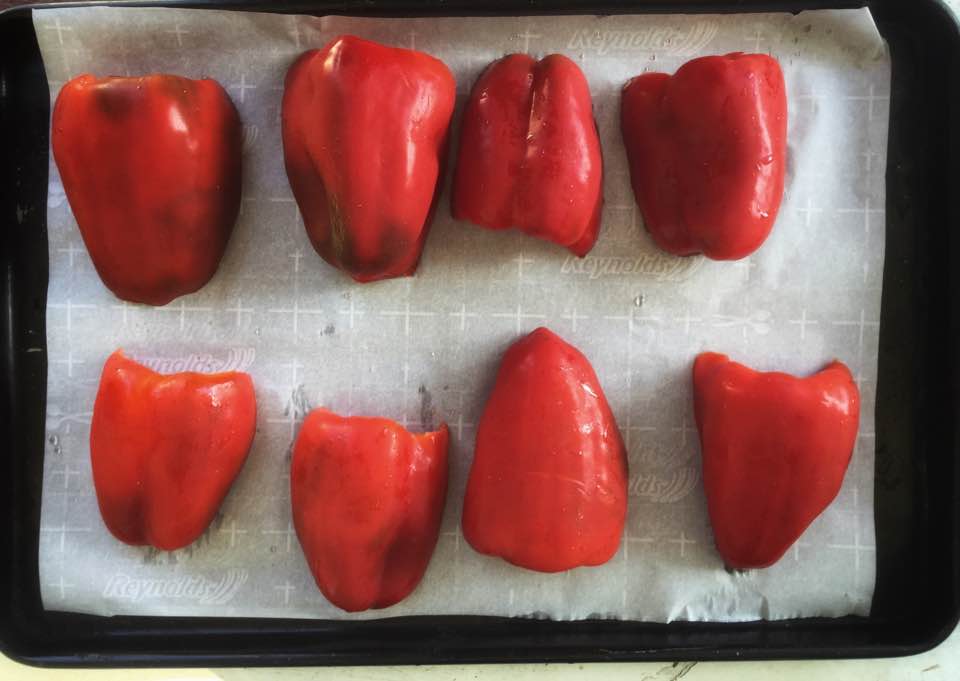
Cut your peppers in half and using your hand, scoop out the seeds and stem with your hand.   Place your peppers on the lined baking sheet cut side down.

How to Make Roasted Red Peppers | Freezing | Preserving | DIY | Healthy Recipes | Roasted Red Pepper Recipe | My Healthy Homemade Life

Roast a few peppers if you need some for a recipe or roast lots of peppers if you’re lucky enough to grown them or find some at your local farmer’s market!


How to Make Roasted Red Peppers | Freezing | Preserving | DIY | Healthy Recipes | Roasted Red Pepper Recipe | My Healthy Homemade Life

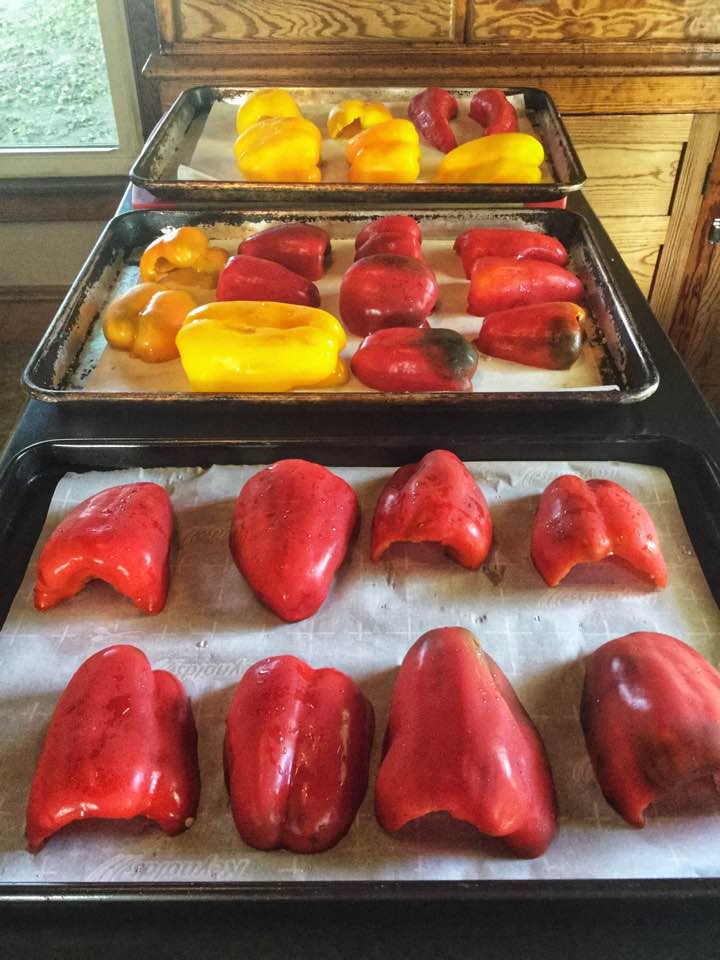
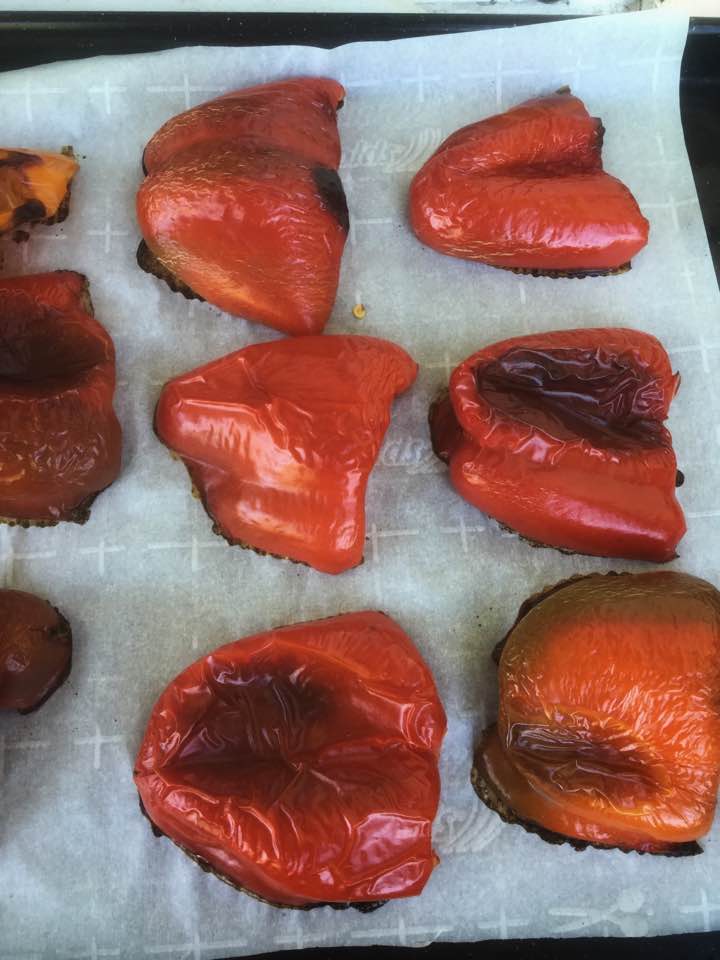
Bake at 450 degrees F. for 25 minutes.   Your peppers should look slightly charred and soft.


How to Make Roasted Red Peppers | Freezing | Preserving | DIY | Healthy Recipes | Roasted Red Pepper Recipe | My Healthy Homemade Life

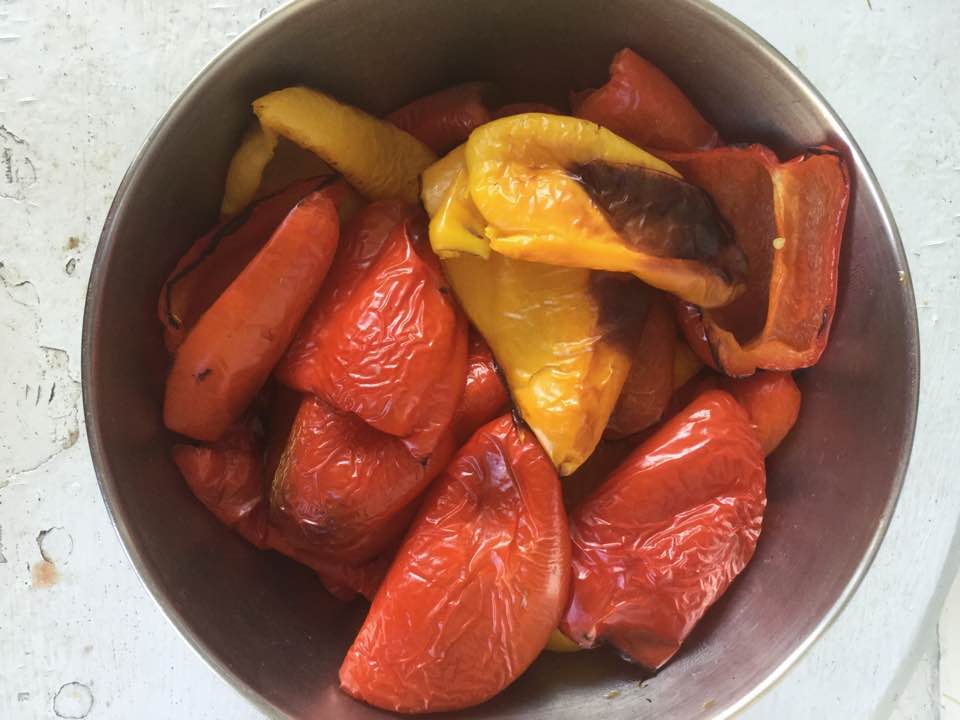
 Immediately transfer the peppers to a stainless steel or glass bowl and cover with a plate.  This will cause your peppers to steam, making it easier to slip off the skins.   Leave the plate on until the peppers are cool enough to handle.


How to Make Roasted Red Peppers | Freezing | Preserving | DIY | Healthy Recipes | Roasted Red Pepper Recipe | My Healthy Homemade Life


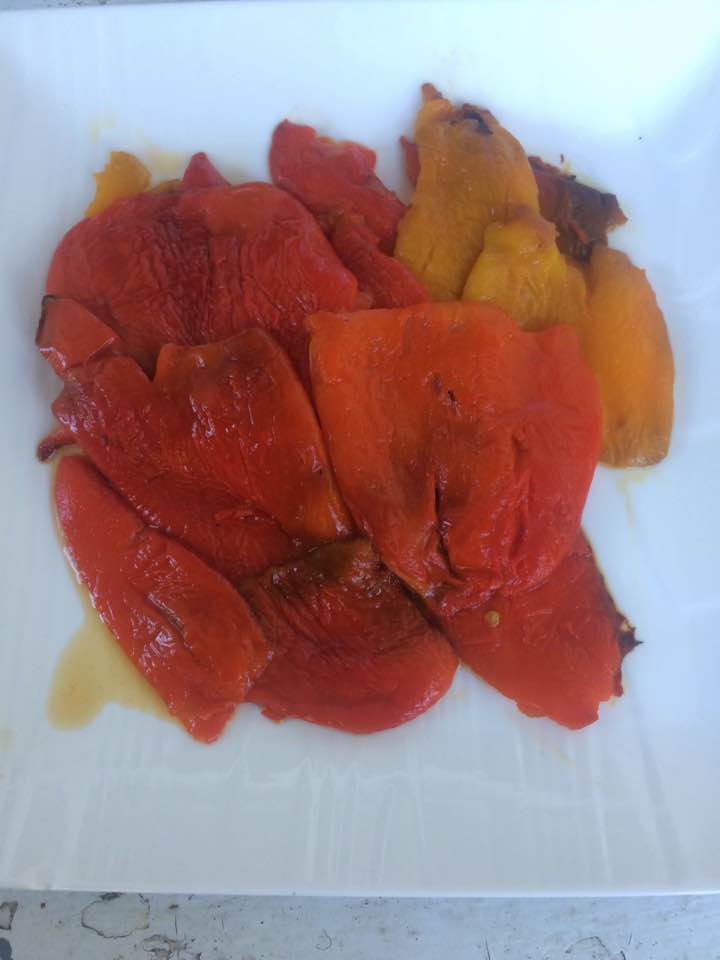
Once the peppers are cool, simply slip off the skin and discard or compost it.   Store your peppers in the refrigerator for up to 10 days or freeze in freezer bags for use over the winter!   They freeze exceptionally well!


How to Make Roasted Red Peppers | Freezing | Preserving | DIY | Healthy Recipes | Roasted Red Pepper Recipe | My Healthy Homemade Life


How to Make Roasted Red Peppers

a step by step recipe for making roasted red peppers.

5 minPrep Time

25 minCook Time

30 minTotal Time

Save RecipeSave Recipe

5 based on 5 review(s)

Ingredients

  • red, yellow or orange bell peppers

Instructions

  1. First, preheat your oven to 450 degrees F.  and line a baking sheet with parchment paper for easy clean-up.
  2. Cut your peppers in half and using your hand, scoop out the seeds and stem with your hand.   Place your peppers on the lined baking sheet skin side up.
  3. Bake at 450 degrees F. for 25 minutes.   Your peppers should look slightly charred and soft.
  4.  Immediately transfer the peppers to a stainless steel or glass bowl and cover with a plate.  This will cause your peppers to steam, making it easier to slip off the skins.   Leave the plate on until the peppers are cool enough to handle.
  5. Once the peppers are cool, simply slip off the skin and discard.   Store your peppers in the refrigerator for up to 10 days or freeze in freezer bags for use over the winter!   They freeze exceptionally well!

Notes

When making roasted red peppers, you'll find that bell peppers work the best because they are thick and meaty.  I've tried roasting frying peppers and peppers with a thinner skin and they just don't hold up very well to roasting and peeling.

7.8.1.2
17
https://www.myhealthyhomemadelife.com/how-to-make-roasted-red-peppers/


If you’re looking for more preserving recipes, here are some of my family’s favorites!

How to Make the BEST Homemade Salsa (for Canning) 

Quick & Easy Refrigerator Dill Pickles

Simple Sauerkraut in a Jar 

Lemon Basil Pesto (Vegan & Gluten Free) 

Roasted Garlic & Tomato Marinara Sauce 

The BEST Vegan Garlic Scape Pesto 


Did you try this recipe? Please let me know how it turned out by leaving a comment below or sharing a picture on my Facebook Page or on Instagram . 

I love hearing your feedback!   


Subscribe Here


My Healthy Homemade Life is a participant in the Amazon Services LLC Associates Program, an affiliate advertising program designed to provide a means for sites to earn advertising fees by advertising and linking to Amazon.com.

Enjoy this post? Share & Like

You Might Also Like

30 Comments

  • Reply Penny at Thanks for explaining the process so clearly, the great photos, and showing how easy it is to prepare peppers for all of my dishes! The last time I tried to do this, the outcome wasn't great, so I'll be saving your handy recipe card to refer to in the future. Pura vida, Penny
    • Reply Jen at I'm so glad to hear it was helpful, Penny! It is pretty much a no fail recipe when you follow these steps and so easy!
  • Reply Caitlin at So yummy! I love roasted red peppers in so many things -- these look great! And so easy!
    • Reply Jen at Thanks, Caitlin! :) They are so easy!
  • Reply Adine @ Average To Awesome at Thanks for this! I'm not a huge fan of peppers, but these look actually nice and I think you can use them in a lot of dishes! By the way.. I recently bought a pack with one green, one yellow, and one red pepper, and left the green one in the basket, since I also wasn't very keen on using that. However, it now turned orange! I think I'll check to see if that's still OK to eat, but if so, it would be great in soup or sauce, I think!
    • Reply Jen at It sure would, Adine! I usually refrigerate peppers so I had no idea they would ripen on the counter. I'll have to try that! :)
  • Reply Jennifer at Thanks for breaking it down so well! Your pictures and directions are awesome!
    • Reply Jen at Thank you, Jennifer ! I'm so glad it was helpful! :)
  • Reply Genesis at I LOVE roasted peppers and use them frequently. I have always roasted them on the stovetop, though . . . this looks WAY more efficient.
    • Reply Jen at I used to roast them on the stove too. I love the oven so much better! :)
  • Reply Elise Cohen Ho at I love the depth of flavor that roasted peppers can add to just about anything.
    • Reply Jen at I agree, Elise! Lots of flavor!
  • Reply Mrs. G at We had a bunch given to us recently I wish I had seen this sooner. So many went to waste :-/ You make it look easy. Next time I will give it a go.
    • Reply Jen at I know what you mean, Mrs. G! Roasted red peppers is my go-to recipe when I need to use up my peppers ASAP.
  • Reply Melissa | This Blended Home of Mine at Oh yes! We've got sweet peppers in season now, and I'm always looking for ways to use it and take advantage of the surplus. I love the step by step photos. I know what I'm doing next!!
    • Reply Jen at Wonderful! I hope you enjoy them, Melissa! :)
  • Reply Akshay Naik at This is really an Awesome So yummy! I love roasted red peppers in so many things -- these look great! and informative post! I Just Loved it. Thanks once again
  • Reply Nathalie @ Press Print Party! at Roasted red peppers with a little vinaigrette.... yum.
    • Reply Jen at That sounds delicious, Nathalie! I'll have to give that a try!
  • Reply Angela at My mom always roasts peppers, I really need to give it a try. They look pretty easy and I love how versatile they are, they are delicious in a sandwich! I also hate green peppers. Orange peppers are my favorite.
    • Reply Jen at I agree, they are delicious in a sandwich! Have you ever tried them in grilled cheese sandwich? I add baby spinach and roasted red peppers with some cheese . Delicious!
  • Reply Corey | The Nostalgia Diaries at I love roasted peppers, but I didn't realize they were this easy to make! I used to hate them, too, until I discovered that the colorful ones were sweet :)
    • Reply Jen at They are so easy! I hope you give them a try, Corey! :)
  • Reply Viviane at Will definitely have to try this because I absolutely love this vegetable. Thanks for sharing this recipe!
    • Reply Jen at I'm so glad to hear that, Viviane! They are delicious!
  • Reply Nicole at I can't wait to try this. Thanks for a great recipe.
    • Reply Jen at Thanks, Nicole! Hope you enjoy it! :)
  • Reply Loren at First of all - I LOVE LOVE LOVE bell peppers! Your recipe sounds so amazing and easy to do! I've mainly cooked them on the grill and miss them during the fall and winter, but you have solved that for me!
    • Reply Jen at I'm so glad to hear that, Loren! It really is easy!

Leave a Reply

Your email address will not be published. Required fields are marked *

Rate this recipe:

Enjoy this blog? Please spread the word :)